

The most effective first-line approach for patellofemoral pain syndrome (PFPS) is a short daily routine combining hip abductor strengthening, gluteal activation, and controlled quadriceps loading, paired with a brief warm-up and clear pain-monitoring rules.
A ready-to-follow routine takes 10–15 minutes and targets the muscles that control patellar tracking. Perform it regularly to start; increasing frequency as your body adapts.
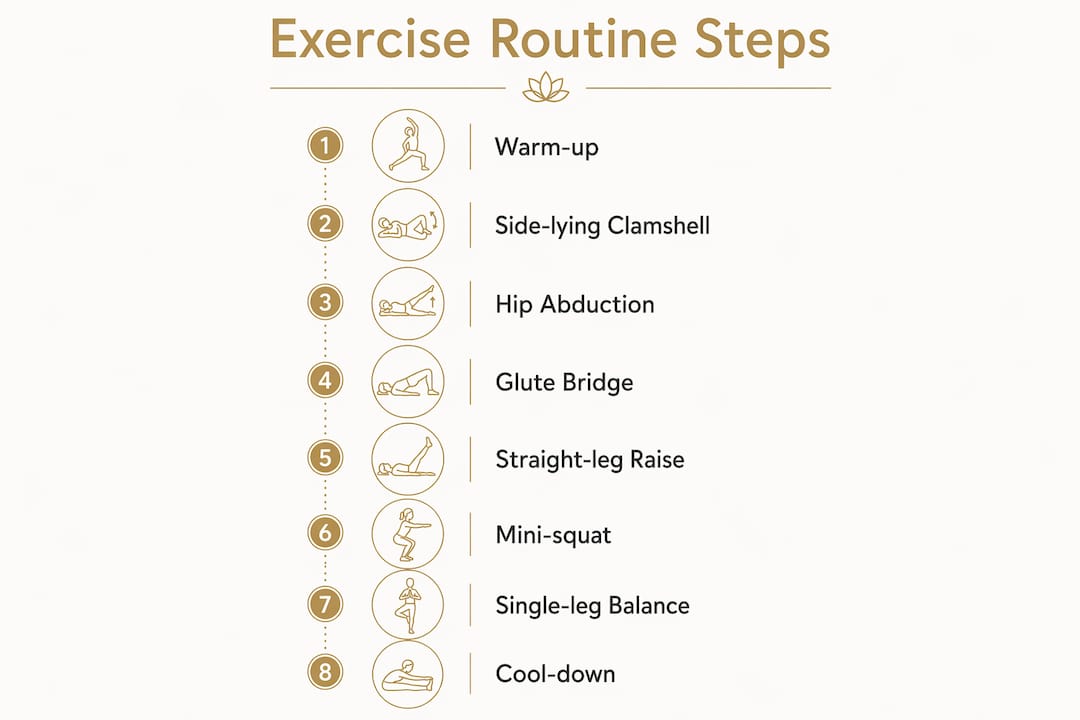
Routine order:
| Exercise | Starting dosage | Short-term target |
|---|---|---|
| Side-lying clamshell | 2–3 reps, 1 set | 10–15 reps, 2–3 sets |
| Standing hip abduction | 2–3 reps, 1 set | 10–15 reps, 2–3 sets |
| Glute bridge | 2–3 reps, 1 set | 10–15 reps, 2–3 sets |
| Straight-leg raise | 2–3 reps, 1 set | 10–15 reps, 2–3 sets |
| Mini-squat / wall slide | 2–3 reps, 1 set | 10–15 reps, 2–3 sets |
| Single-leg balance | 10 seconds, 1 set | 30–45 seconds, 2–3 sets |
On days you run or take stairs, do the routine afterward, not before, so your legs aren’t pre-fatigued for weight-bearing activity. Reduce stair descent speed and avoid deep knee flexion on the same day you begin a new progression level.
Seven stabilizing exercises are widely recommended for PFPS home rehab. Here is how to execute each one correctly.
Purpose: isolates the gluteus medius without loading the patellofemoral joint.
Form cues: keep your pelvis still, don’t let your hips roll back, and squeeze your glute at the top. Regression: reduce range of motion. Progression: add a resistance band above the knees.
Pro Tip: Lean your back lightly against a wall during this exercise. It prevents pelvic roll and forces the target hip muscles to do the work.
Purpose: builds lateral hip strength in a functional, upright position.
Form cues: don’t let your trunk lean side to side, keep your core engaged, and maintain a slight bend in the standing knee. Regression: remove the band. Progression: increase band resistance or add a forward-backward walk pattern.
Pro Tip: Slow the return step down to a 3-second controlled movement. That eccentric load is where hip strength gains happen fastest.
Purpose: activates the gluteals and hamstrings while keeping knee load minimal.
Form cues: squeeze your glutes before you lift, keep your feet hip-width apart, and avoid arching your lower back. Regression: reduce hold time. Progression: single-leg bridge with the other leg extended.
Purpose: strengthens the quadriceps through an open-chain movement with zero patellofemoral compression.
Form cues: keep the thigh tight throughout, don’t let the leg drop quickly, and maintain a neutral lower back. Regression: reduce lift height. Progression: add a light ankle weight.
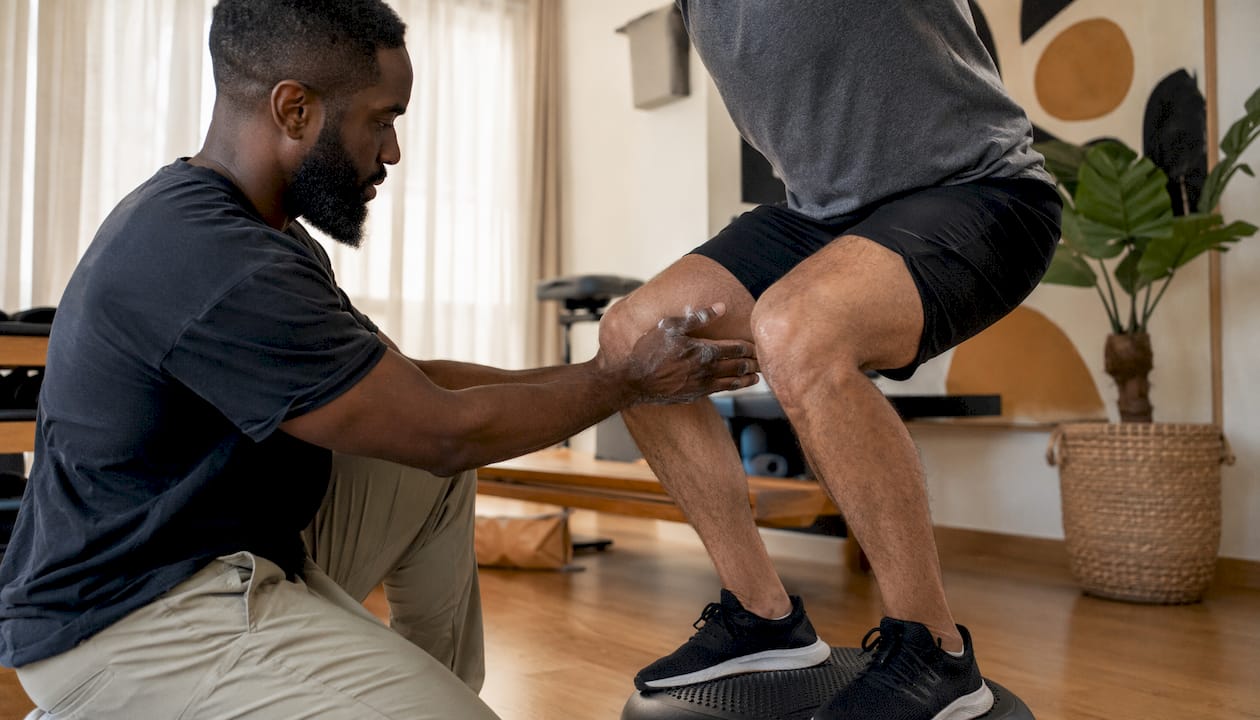
Purpose: introduces closed-chain quad loading at a safe knee angle.
Form cues: keep your knees tracking over your second toe, heels flat, and avoid letting the knees cave inward. Regression: reduce depth to 10–15 degrees. Progression: increase depth gradually to 45 degrees as pain allows.
Pro Tip: Place a small ball between your knees and gently squeeze it. This activates the VMO (inner quad) and improves patellar tracking immediately.
Purpose: trains proprioception and knee stability under body weight.
Form cues: keep your hip level, don’t let the knee drift inward, and use a wall for support if needed. Regression: fingertip wall touch. Progression: close your eyes or stand on a folded towel.
Common form cues across all exercises: maintain a neutral pelvis, keep your knee aligned over your second toe, and use a slow 3-0-3 tempo (3 seconds up, no pause, 3 seconds down) unless otherwise noted.
Rehab is non-linear. Consistent, lower-intensity practice yields better long-term results than rushing load increases, and objective criteria should guide every step up.
Before increasing load, confirm all of these:
The 4–12 week phased progression from open-chain to closed-chain exercises is the standard clinical framework for PFPS recovery.
A 5–7 minute light aerobic warm-up before strengthening reduces joint stiffness and prepares the tissues for loading. A stationary bike or brisk walk works well. If front-knee pain is severe, start with hip-only exercises first and add knee-loading movements only once symptoms settle.
Post-exercise stretches to include, each held for 30–45 seconds:
For more on stretch-based approaches, fascial stretch therapy can complement this routine when tightness is a persistent issue. Never force a stretch into sharp pain; prefer gentle, sustained lengthening at the end of your range.
Mild adaptation soreness during or after exercise is normal. Sharp pain, pain that worsens the next morning, or pain that climbs above a 3/10 during a set are all signals to reduce load.
Acceptable: a mild ache (1–2/10) that settles within 24 hours.
Back off when: pain rises above 3/10 during exercise, or you wake up sorer the next day than you started.
Practical modifications:
Red flags that warrant clinician contact:
Most people plateau or flare their symptoms because of technique errors, not the exercises themselves.
Quick self-checks: use a mirror to watch knee alignment during squats, hold a wall lightly during single-leg balance to gauge how much support you actually need, and film yourself from the front during clamshells to spot pelvic roll.
Home exercise is the right starting point for most people with PFPS. However, if you see no meaningful improvement after six weeks of consistent effort, or if any red flag above appears, a clinical assessment changes the picture significantly.
Strong muscles around the knee act as shock absorbers and protect patellar alignment, but identifying why those muscles aren’t firing correctly often requires hands-on evaluation. A clinician can assess hip mechanics, foot posture, and movement patterns that a home routine cannot address on its own. Understanding when a physical therapist adds value beyond self-directed exercise is a useful framework for making that decision.
At Shephardhealth in Calgary, a first visit for PFPS includes a movement assessment, short functional tests, and a tailored plan built around your specific deficits. Services relevant to PFPS recovery include individualized exercise programming, Active Release Technique, shockwave therapy, cold laser therapy, Kinesio taping, and gait analysis. Hands-on methods like ART and shockwave therapy can accelerate tissue recovery beyond what generic home exercise achieves alone. Same-day appointments and direct insurance billing are available.
A short daily routine combining hip abductor activation, gluteal loading, and controlled quadriceps work is the most effective starting point for reducing patellofemoral pain and restoring knee function.
| Point | Details |
|---|---|
| Warm up first | 5–7 minutes of light aerobic activity reduces stiffness before every session. |
| Prioritize hip and quad strength | Clamshells, glute bridges, and straight-leg raises address the root cause of poor patellar tracking. |
| Progress gradually | Begin at 2–3 reps per set and build toward 8–15 reps over 4–12 weeks before increasing load. |
| Monitor pain carefully | Mild ache (1–2/10) is acceptable; sharp pain or next-day worsening means reduce load immediately. |
| Shephardhealth for hands-on care | If home exercise stalls after six weeks, Shephardhealth in Calgary offers assessment, ART, shockwave, and laser therapy for PFPS. |
Most exercise guides for runner’s knee treat the quadriceps as the primary target and the hips as secondary. The clinical evidence points the other way. Rehabilitating the hip and gluteal muscles first often reduces patellar stress faster than isolated quad-only programs, because the hip controls the femur’s position under the patella. A quad that fires perfectly onto a poorly controlled femur still produces abnormal patellar tracking.
The other underestimated factor is tempo. Patients who rush through reps to hit a rep count get far less benefit than those who use a slow, controlled eccentric phase. Three seconds down on every rep is not a suggestion; it is where the adaptation happens. If you find yourself breezing through 15 reps in under 20 seconds, you are not training the tissue, you are just moving through it.
Consistency at low load beats intensity at high load, every time, for this condition. The readers who recover fastest are not the ones who push hardest. They are the ones who show up every other day, respect the pain rules, and add load only when the checklist clears.
If your symptoms have persisted beyond a few weeks or the home routine isn’t moving the needle, Shephardhealth offers a faster path forward. The clinic’s PFPS-specific services go well beyond generic exercise: Active Release Technique to address soft-tissue restrictions, cold laser therapy to support tissue recovery, shockwave therapy for stubborn tendon involvement, and Kinesio taping to offload the patella during daily activity. Every plan starts with a thorough movement assessment so nothing is guessed.

Same-day appointments are available, and the clinic offers direct insurance billing to keep the process straightforward. To understand what your first visit looks like before you book, the clinic’s new-patient page walks you through the process step by step. Book your assessment at Shephardhealth’s knee pain clinic and get a plan built specifically for your knee.
This article provides general information for educational purposes and does not replace professional medical advice. Confirm your specific situation with a qualified clinician before beginning any rehabilitation program.
Same Day Appointments Available
We Direct Bill!