

If you’re dealing with hip impingement, the most useful exercises are targeted glute and core strengthening paired with controlled mobility work, not aggressive stretching into painful ranges. Start with a glute bridge, a clamshell or side-lying abduction, a bird-dog or plank, and a gentle banded hip mobilization. The safety rule that matters most: stay within a pain-monitoring threshold and give the program several months before judging whether it’s working.
TL;DR:
- Progressively increase reps or difficulty every 1 to 2 weeks once initial exercises become easy, but keep pain below a 4 out of 10 scale.
- Avoid deep hip flexion and internal rotation stretches if they reproduce pain, and back off range rather than forcing extreme positions.
- Expect improvements within 6 to 12 weeks, but it can take 3 to 6 months of consistent exercise to see meaningful results.
- Reassess symptoms if night pains worsen, catching or locking sensations increase, or walking capacity significantly declines.
A focused routine of three to four exercises, done consistently, outperforms a long list you abandon after a week. Clinical practice guidelines point to hip-specific strengthening of the gluteus maximus and medius, trunk stability work, and movement retraining as the core ingredients of effective rehab. Here’s a sequence that covers those bases in about 10 to 15 minutes.
A reasonable starting prescription is 8 reps per exercise, building to 3 sets, performed every other day to start. Once a set feels easy, increase reps by small increments or advance the difficulty, a pattern that practical rehab guidance recommends every 1 to 2 weeks.
Pro Tip: Film yourself from the side during the bird-dog and bridge. Small compensations, like hip hiking or back arching, are far easier to spot on video than to feel in the moment.
Getting the mechanics right matters more than adding reps. A few adjustments keep these exercises working for your hip instead of against it.
Movements that push into deep hip flexion combined with internal rotation, like a forced 90/90 stretch, commonly provoke anterior pinching in people with hip impingement. Guidance on the 90/90 stretch notes it can be too aggressive for this population, so if a stretch reproduces that pinch, back off the range rather than pushing through it.
Pro Tip: If a movement feels fine in isolation but painful when combined with rotation, like squatting plus turning, isolate the components first and reintroduce the combination gradually.
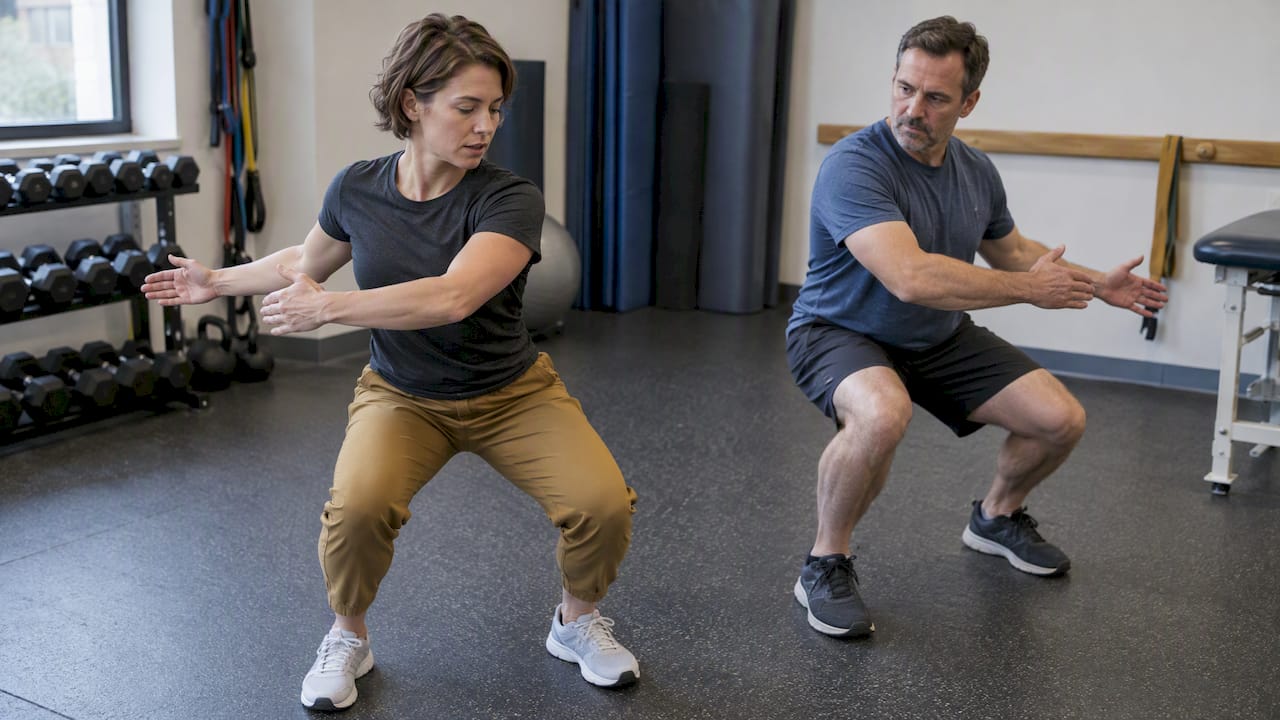
Progression should follow a simple, repeatable pattern rather than guesswork. Once a prescribed set of 8 reps feels manageable, increase by 2 to 5 reps every 1 to 2 weeks, or make the exercise harder by adding resistance, reducing support, or increasing range, an approach reflected in practical rehab protocols.
Some initial attempts at increasing load may need to be dialed back, which is normal rather than a sign the program has failed; clinical practice guidance supports progressive, pain-monitored loading as the standard approach rather than a fixed schedule.
Conservative, exercise-based care takes time to show results, and expecting overnight relief sets you up for disappointment. Patient guidance from Oxford University Hospitals recommends giving structured rehabilitation 3 to 6 months before deciding whether it’s working, with many people noticing initial changes within 6 to 12 weeks.
Track these signs of progress: less anterior groin pain during daily activities, improved comfort with hip flexion, and fewer catching or locking sensations, all hallmark symptoms of femoroacetabular impingement syndrome.
When symptoms are highly irritable, we favor starting with low-load, bilateral isometric work, think wall sits or held bridges, before progressing to single-leg and dynamic tasks like step-downs once pelvic control is steady. Manual therapies such as Active Release Technique can complement a home program by addressing soft-tissue restrictions around the hip.
Chasing full end-range mobility before your hip can control it is a common mistake. Prioritize pain-free strength and motor control first. Exercise won’t reshape the underlying bone, but it reliably builds the tolerance and strength that make daily movement comfortable again. If progress stalls or red flags appear, get a clinician’s eyes on it.
— Deane
A self-guided routine gets you started, but a hip that keeps catching or hasn’t improved after a few months benefits from a trained eye on your mechanics. We build individualized rehab plans around a full biomechanical assessment, pairing Physical Rehabilitation exercise prescriptions with hands-on options like Active Release Technique or Shockwave Therapy when soft tissue is limiting your progress.

| Service | What it addresses |
|---|---|
| Physical Rehabilitation | Individualized strength and mobility programming for hip impingement |
| Active Release Technique (A.R.T.) | Soft-tissue restrictions contributing to hip stiffness |
| Shockwave Therapy | Stubborn soft-tissue pain that limits exercise progress |
Same-day appointments and direct insurance billing make it easier to get a plan reviewed before small issues become setbacks. Book a visit through our services page to get your hip assessed and your routine fine-tuned.
This article is general information, not a substitute for advice from a qualified doctor. Consult a qualified healthcare professional about your own circumstances before acting on anything here.
There’s no quick “release” for hip impingement since it’s a structural and mechanical issue, not a muscle that simply needs loosening. The most effective approach combines gentle, pain-free mobility work with glute and core strengthening to improve how the joint moves and tolerates load, as outlined in clinical practice guidelines.
Avoid forcing deep hip flexion combined with internal rotation, since this combination commonly reproduces the anterior pinching sensation. Skip aggressive stretches like a forced 90/90 position if it triggers pain, and don’t push through pain that exceeds a 4 out of 10 or lingers beyond the session, per guidance on the 90/90 stretch.
Many people notice some improvement within 6 to 12 weeks of consistent, targeted exercise, but a full trial of conservative care typically needs 3 to 6 months before you and a clinician can judge whether it’s working, according to patient guidance. Symptoms that aren’t easing by then usually warrant a closer clinical look.
Early signs typically include anterior groin pain, pain or tightness when flexing the hip deeply, and sometimes lateral hip discomfort, all consistent with recognized symptoms of femoroacetabular impingement syndrome. Some people also notice catching or clicking sensations during activities like squatting or pivoting.
Same Day Appointments Available
We Direct Bill!